Super Simple Steps: Building with Supabase (Part 1)

Disclaimer: This post is a personal, educational reference. All code examples and opinions are my own and are not affiliated with, sponsored by, or representative of my employer. I’m publishing this on my own time and without using any confidential information.
© 2026 Sean Miller. All rights reserved.
There are times when building an entire backend for your application is overkill. As demonstrated in a previous post, Deploying a Backend: A Guide to FastAPI and Fly.io, operationalizing a working backend with functional endpoints is a relatively simple process; however, the example did not demonstrate the complexities of authentication, authorization, databases, repeatable functions, or other considerations that are typically required for a production-ready platform.
That’s where Supabase comes in. In a continuation of the Super Simple Series, we’ll build a simple project with Supabase that stores inventory. In Part 2, we’ll call the Serper Shopping API to search for, and store, comps.
What You’ll Build
- Install the Supabase CLI
- Create a Supabase account
- Create a new Supabase project with the CLI
- Initialize a new project and link it to the Supabase project
- Create a migration to add types, a table, RLS policies, and a database function
- Add example data through the SQL Editor, a database function, and the dashboard
What is Supabase?
Supabase is a modern, open-source database platform that provides a Postgres database, authentication, storage, and a host of supporting features that might invalidate the need for a traditional backend. It’s a strong fit for spinning up a new project quickly and easily.
Getting Started
Creation and Initialization
First, we’ll create a new Supabase project with the CLI. Note, you can also create a project from Supabase studio, but it’s important to get familiar with the CLI first.
mkdir supabase-project # create a new directory
cd supabase-project # change to directory
supabase login # login to your Supabase account
# Follow the prompts
supabase init # creates a supabase/ sub-directory
supabase project create # create a new project
# Follow the prompts
supabase link # link the project to your repository
# Follow the prompts
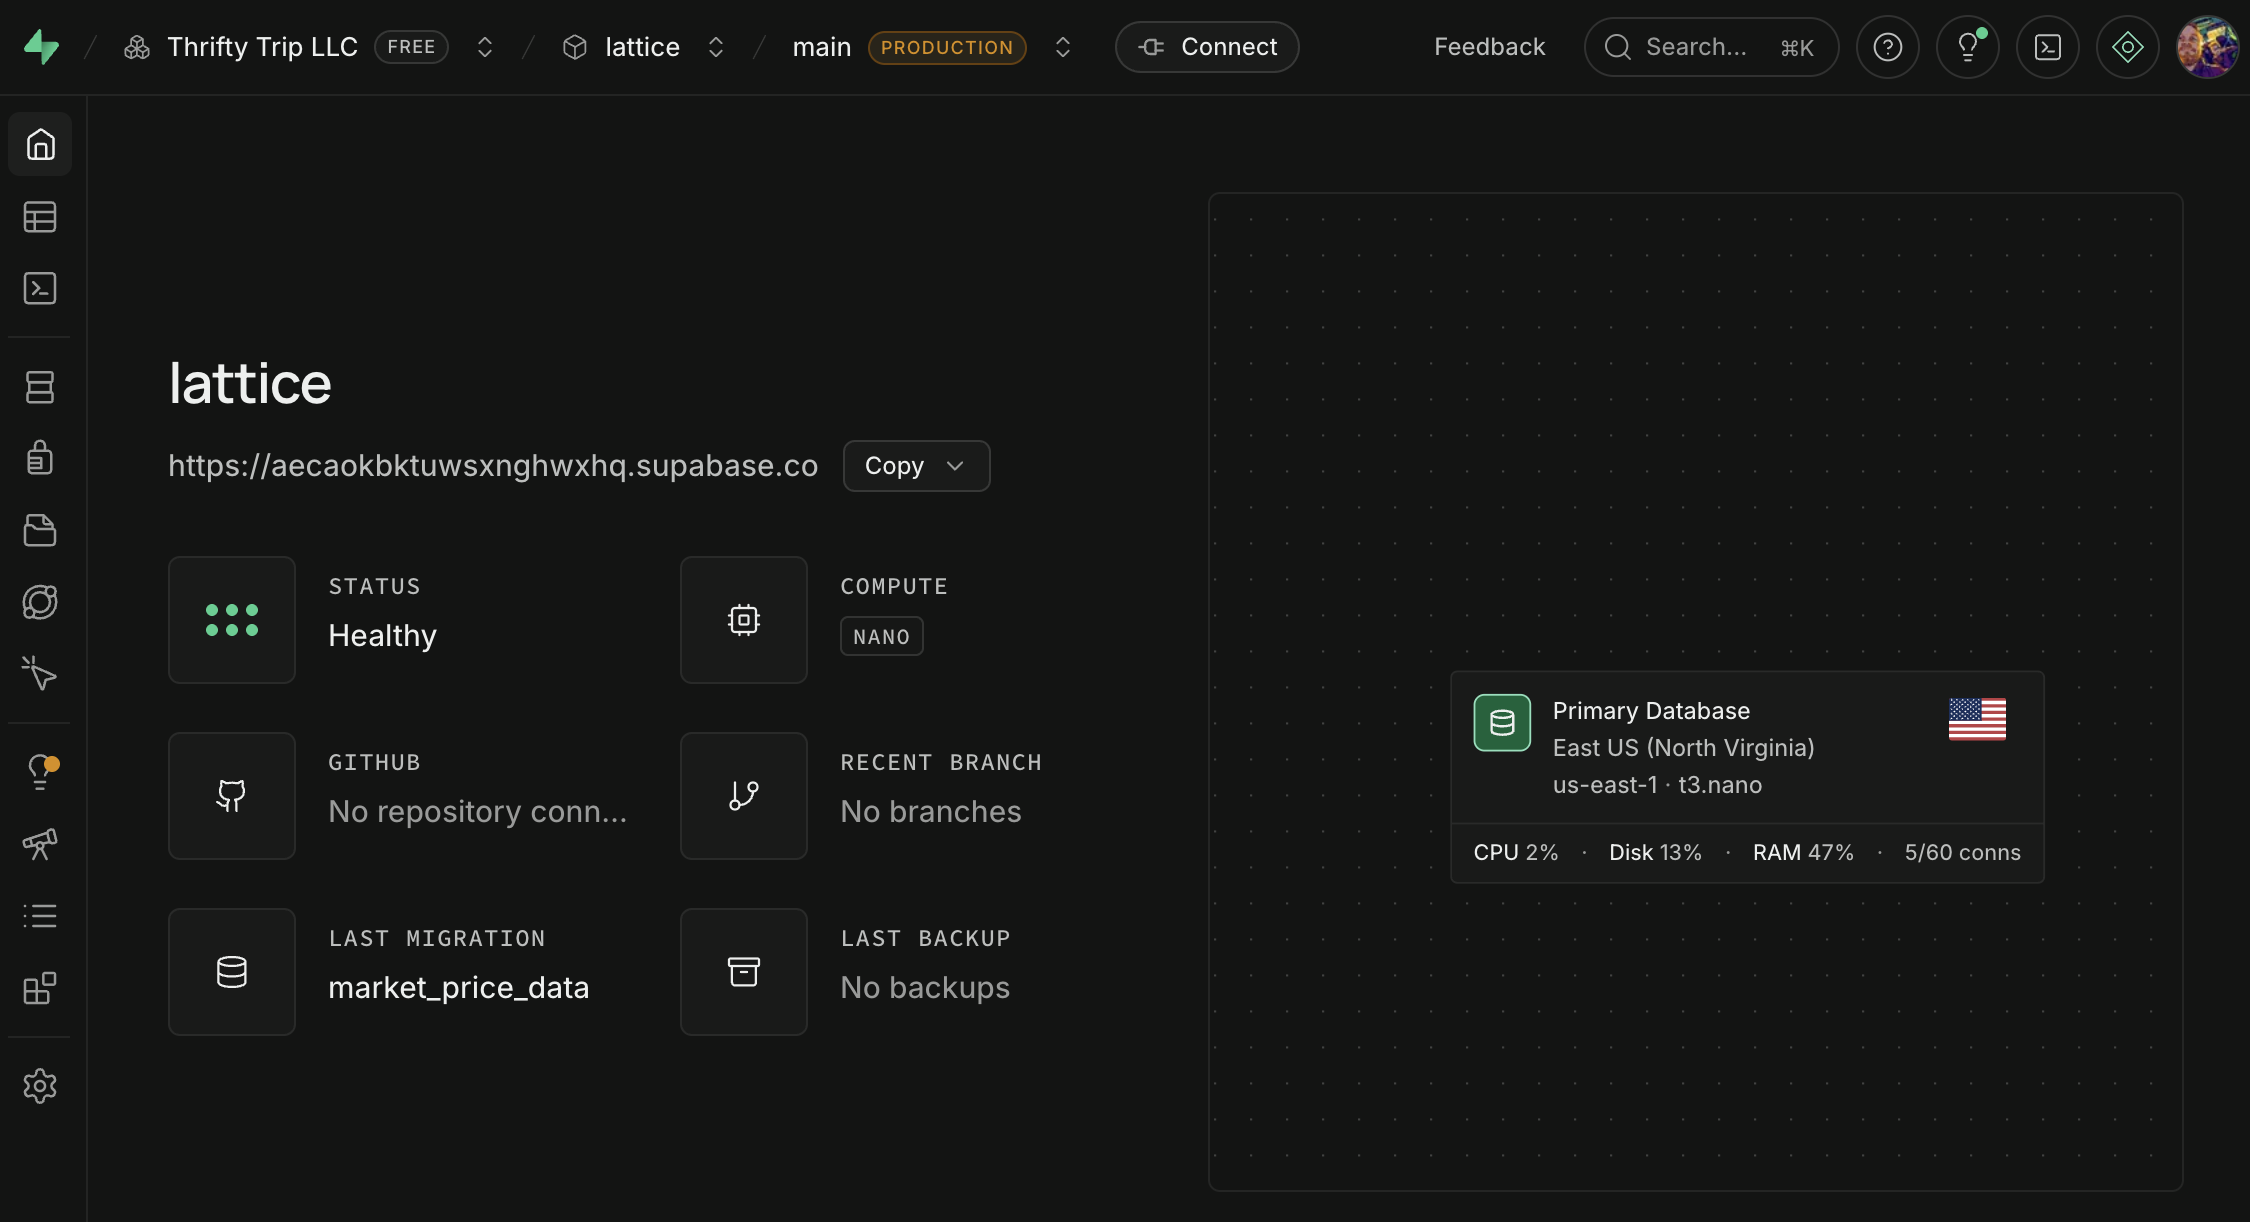
That’s it! You’ve created a new Supabase project and linked it to your repository. You can find it directly in Supabase.
Creating a migration
Now that you have a project, you can create a migration to add types and tables. In this example, we’ll create a migration to add a table for a simple inventory system.
supabase migration new add_inventory_tableOnce the migration is created, you can edit in your IDE of choice, or use nano supabase/migrations/<timestamp>_add_inventory_table.sql. As per the guidelines of the Super Simple Steps series, I’ll break this down bite-by-bite.
CREATE TYPE public.inventory_item_type AS ENUM (
    'clothes',
    'accessories',
    'food',
    'household',
    'home goods',
    'furniture',
    'electronics',
    'other'
);

CREATE TYPE public.inventory_item_creation_result AS (
    item_id UUID,
    success BOOLEAN,
    error_message TEXT
);

COMMENT ON TYPE public.inventory_item_type IS
'A type to classify inventory items.';

COMMENT ON TYPE public.inventory_item_creation_result IS
'The return value of the inventory item creation function.';
What this does: This creates two types: inventory_item_type and inventory_item_creation_result. The first is a simple enumeration of the different types of inventory items, the second is a composite type that returns the result of the inventory item creation function. A composite type is simply a list of fields and their types (e.g. BOOLEAN, TEXT).
Note, the COMMENT ON TYPE statements are optional, but they’re a good way to document the purpose of the type for future reference.
CREATE TABLE IF NOT EXISTS public.inventory_items (
    id UUID PRIMARY KEY DEFAULT gen_random_uuid(),
    user_id UUID NOT NULL,
    name TEXT NOT NULL,
    description TEXT DEFAULT NULL,
    quantity INT NOT NULL DEFAULT 0,
    created_at TIMESTAMPTZ NOT NULL DEFAULT timezone('utc'::text, now()),
    updated_at TIMESTAMPTZ NOT NULL DEFAULT timezone('utc'::text, now()),
    is_archived BOOLEAN NOT NULL DEFAULT false,
    inventory_type public.inventory_item_type NOT NULL DEFAULT 'other'
);

COMMENT ON TABLE public.inventory_items IS 'A table to store inventory items.';
What this does: This creates the inventory_items table. It has the following columns:
| Column | Type | Description | Required | Default Value |
|---|---|---|---|---|
| id | UUID | The unique identifier for the inventory item | Yes | A random UUID |
| user_id | UUID | The user who owns the inventory item | Yes | The user’s ID |
| name | TEXT | The name of the inventory item | Yes | N/A |
| description | TEXT | The description of the inventory item | No | NULL |
| quantity | INT | The quantity of the inventory item | Yes | 0 |
| created_at | TIMESTAMPTZ | The timestamp when the inventory item was created | Yes | The current timestamp |
| updated_at | TIMESTAMPTZ | The timestamp when the inventory item was last updated | Yes | The current timestamp |
| is_archived | BOOLEAN | Whether the inventory item is archived | Yes | false |
| inventory_type | public.inventory_item_type | The type of inventory item | Yes | ’other’ |
Note, the created_at and updated_at columns are automatically populated with the current timestamp using the timezone('utc'::text, now()) function. This is a convenient way to get the current timestamp in Coordinated Universal Time.
ALTER TABLE public.inventory_items
    ADD CONSTRAINT "inventory_user_fkey" FOREIGN KEY (user_id) REFERENCES auth.users(id) ON DELETE CASCADE;
What this does: This adds a foreign key constraint to the user_id column to the users table in the auth schema. This ensures that the user_id column is always a valid user ID. ON DELETE CASCADE means that if the user is deleted, all of their inventory items will be deleted.
Next, we define the Row Level Security (RLS) policies for the inventory_items table, which is critically important for ensuring users can only access their own data.
-- Grant SELECT, INSERT, UPDATE, DELETE to authenticated users
-- We explicitly grant these permissions to authenticated users, rather than using the default
GRANT SELECT, INSERT, UPDATE, DELETE ON TABLE public.inventory_items TO authenticated;

ALTER TABLE public.inventory_items ENABLE ROW LEVEL SECURITY;

-- Create policy to allow users to create inventory
CREATE POLICY "Allow users to create inventory items"
ON public.inventory_items FOR INSERT
WITH CHECK (auth.uid() = user_id);

-- Create policy to allow users to read their own inventory items
CREATE POLICY "Allow users to read their own inventory items"
ON public.inventory_items FOR SELECT
USING ((SELECT auth.uid()) = user_id);

-- Create policy to allow users to update their own inventory items
CREATE POLICY "Allow users to update their own inventory items"
ON public.inventory_items FOR UPDATE
USING ((SELECT auth.uid()) = user_id)
WITH CHECK (auth.uid() = user_id);

-- Create policy to allow users to delete their own inventory items
CREATE POLICY "Allow users to delete their own inventory items"
ON public.inventory_items FOR DELETE
USING ((SELECT auth.uid()) = user_id);
What this does: This creates a set of RLS policies to allow users to create, read, update, and delete their own inventory items. The WITH CHECK clause ensures that the user_id of a row being created or updated matches the authenticated user making the request. The USING clause checks that the authenticated user owns the inventory item.
CREATE OR REPLACE FUNCTION public.create_inventory_item(
    p_item_data JSONB -- The input data for the item
)
RETURNS public.inventory_item_creation_result AS $$ -- The return value, specified as a composite type
DECLARE
    v_item_id UUID; -- The unique identifier for the inventory item
    v_user_id UUID; -- The user who owns the inventory item
    v_result public.inventory_item_creation_result; -- The return value, corresponding to the composite type
BEGIN
    v_user_id := (p_item_data->>'user_id')::uuid; -- Extract the user ID from the input data

    -- Insert the inventory item
    INSERT INTO public.inventory_items (
        id,
        user_id,
        name,
        description,
        quantity,
        inventory_type,
        created_at,
        updated_at,
        is_archived
    )
    VALUES (
        COALESCE((p_item_data->>'id')::uuid, gen_random_uuid()), -- If no ID is generated from the client, generate a new one
        v_user_id,
        p_item_data->>'name', -- Extract the name from the input JSONB
        p_item_data->>'description', -- Extract the description...
        COALESCE((p_item_data->>'quantity')::int, 0), -- Extract the quantity...
        COALESCE((p_item_data->>'inventory_type')::public.inventory_item_type, 'other'::public.inventory_item_type), -- Extract the inventory type...
        COALESCE((p_item_data->>'created_at')::TIMESTAMPTZ, timezone('utc'::text, now())), -- Extract the created at timestamp...
        COALESCE((p_item_data->>'updated_at')::TIMESTAMPTZ, timezone('utc'::text, now())), -- Extract the updated at timestamp...
        FALSE -- Set the is_archived flag to false
    )
    RETURNING id INTO v_item_id; -- Return the ID of the inserted inventory item

    v_result := (v_item_id, true, NULL)::public.inventory_item_creation_result; -- Return the result of the inventory item creation function
    RETURN v_result;

-- If an error occurs, return the error message (`SQLERRM` is a PostgreSQL system variable that contains the error message)
EXCEPTION
    WHEN others THEN
        v_result := (null, false, SQLERRM)::public.inventory_item_creation_result; -- Explicitly cast to the return type
        RETURN v_result;
END;
$$ LANGUAGE plpgsql;
What this does: This creates a function that allows users to create inventory items. It takes a JSONB object as input, and returns a inventory_item_creation_result object. The function is defined in plpgsql, the PostgreSQL procedural language.
Deploying the migration
Now that we have a migration, we can deploy it to our Supabase project.
supabase db push
# Follow the prompts
That’s it! You’ve now deployed a migration to your Supabase project that adds types, a table, RLS policies, and a function to create inventory items. Now, let’s add some example data.
Seeding the database
For this walkthrough, we’ll add example rows manually while keeping schema changes in migrations. There are three paths we are going to take to insert data into the table:
- Directly in the SQL Editor;
- By calling the
create_inventory_itemdatabase function; - and through the Supabase dashboard
First, you need a user to insert data into the table. I created a user directly in the dashboard under Authentication > Users.
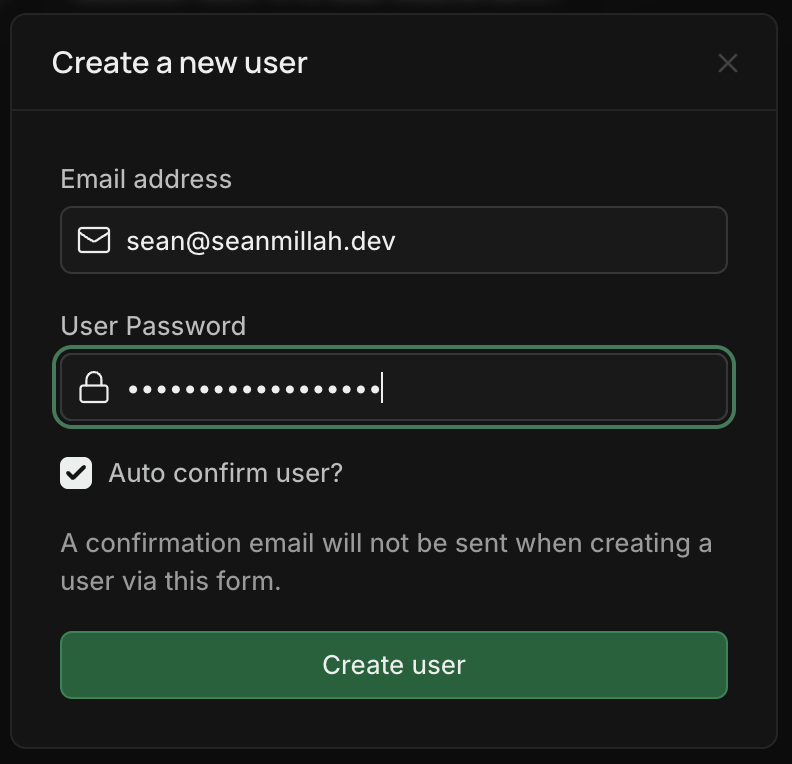
Copy the user ID by right clicking on the user and selecting Copy UID.
SQL Editor data insertion
Navigate to the SQL Editor from the sidebar and create a new snippet.
INSERT INTO public.inventory_items (
  user_id,
  name,
  description,
  quantity,
  inventory_type)
VALUES
  ('e2629fd4-36c0-47f0-b9a1-b3ac187687c7', 'Denim jacket', 'Blue, size M', 2, 'clothes'),
  ('e2629fd4-36c0-47f0-b9a1-b3ac187687c7', 'Coffee beans', '1kg bag', 5, 'food'),
  ('e2629fd4-36c0-47f0-b9a1-b3ac187687c7', 'Desk lamp', NULL, 1, 'electronics');
When you go to the Table Editor from the sidebar, you should see the data you inserted into the inventory_items table.
Database function data insertion
Supabase’s generated Data API docs provide the general request shape for calling a database function from the CLI:
curl -X POST 'https://<YOUR_PROJECT_URL>/rest/v1/rpc/create_inventory_item' \
-d '{ "p_item_data": "value" }' \
-H "Content-Type: application/json" \
-H "apikey: <YOUR_SUPABASE_SECRET_KEY>"<YOUR_PROJECT_URL>is the URL of your Supabase project. You can find it in the dashboard’sConnectdialog.<YOUR_SUPABASE_SECRET_KEY>is a secret API key fromSettings > API Keys.'{ "p_item_data": "value" }'is the JSONB data to pass to the function, and must be constructed as a valid JSON object.
This command uses the project’s secret key as an administrative test. Secret keys bypass Row Level Security and must only be used from a trusted terminal or backend, never from browser or mobile code. This verifies the database function and Data API, not the RLS policies. A client application would instead use a publishable key and the authenticated user’s access token.
Altogether, the final command should look like:
curl -X POST 'https://<YOUR_PROJECT_URL>/rest/v1/rpc/create_inventory_item' \
-d '{
  "p_item_data": {
    "user_id": "e2629fd4-36c0-47f0-b9a1-b3ac187687c7",
    "name": "Twill sport coat",
    "description": "Black, size XL",
    "quantity": 1,
    "inventory_type": "clothes"
  }
}' \
-H "Content-Type: application/json" \
-H "apikey: <YOUR_SUPABASE_SECRET_KEY>"
You’ll see a successful response if the data was inserted correctly: {"item_id":"<YOUR_ITEM_ID>","success":true,"error_message":null}
Supabase dashboard data insertion
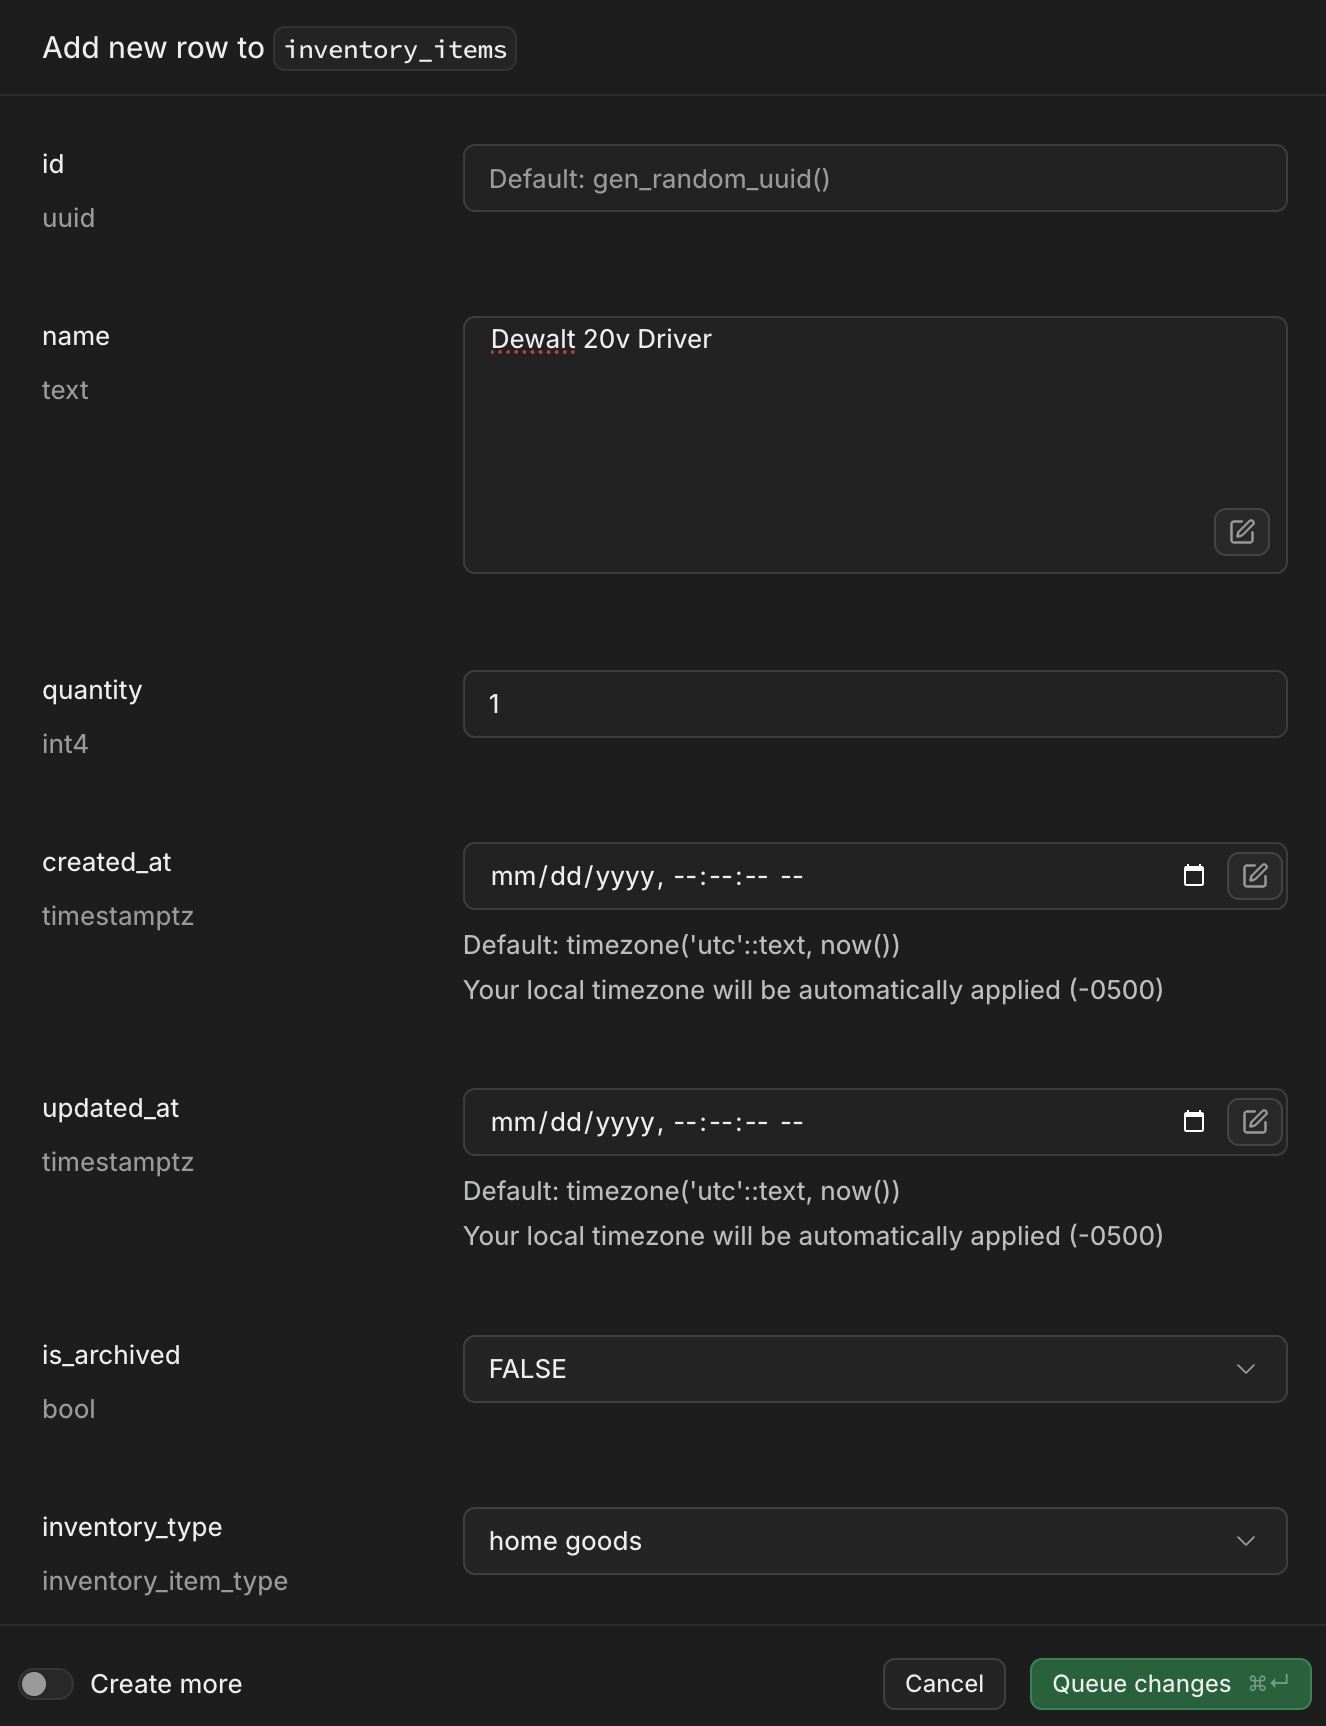
Navigate to the Table Editor from the sidebar and click on the inventory_items table. Click the Insert > Insert Row button (green, top left corner) and enter the data you want to insert. Easy as that!
Conclusion and next steps
We’ve now installed the Supabase CLI, created a new Supabase project, added types, tables, RLS policies, and a function to create inventory items. We’ve also populated the table with data in three different ways.
In the next post, we’ll deploy a Supabase Edge Function that calls the Serper Shopping API to search for, and store, comps.